Sales Service Documentation
How it works
This documentation provides an overview of the sale service, its features, and how it works. The Expenses microservice is an integral component of our iPos ecosystem that allows users to manage their expenses effectively. It is a powerful tool that simplifies the process of tracking expenses and helps users stay on top of their finances.
This microservice allows users to upload receipts through the Upload service and provides a user-friendly interface to view, categorize, and manage their expenses. The Expenses microservice is designed to provide a seamless experience for users, whether they are using a desktop or a mobile device.
The Expenses microservice is built using kotlin (for mobile), VueJs (frontend), Laravel (Backend) and follows best practices in software development to ensure reliability, scalability, and security.
This technical documentation is intended to provide a comprehensive guide to the Expenses microservice, including its features, functionality, and APIs. We will cover everything from the architecture and design of the microservice to the different endpoints and how to use them. So, let's dive in and explore the Expenses microservice in detail!
Version 1 API URLs
| Environment | URL |
|---|---|
| Staging | https://staging.api.ipos.app/api/v1/expenses |
| QA | https://qa.api.ipos.app/api/v1/expenses |
| Production | https://api.ipos.app/api/v1/expenses |
Uploaded Receipts
To upload receipts to the Expenses microservice, users first need to upload them to the Upload service. The Upload service is responsible for storing and managing all uploaded receipts, and it is integrated with the Expenses microservice to ensure seamless communication between the two services.
When a user uploads a receipt to the Upload service, the service generates a unique ID for the receipts and returns it to the user. The ID is then used by the Expenses microservice to retrieve the receipts and associate it with the corresponding expense.
Creating expenses
To create a new expense, the developer sends a POST request to the Expenses microservice's API with the required parameters, such as the expense amount, expense date, and description. The microservice then creates a new expense record and associates it with the user's account.
Users can also categorize expenses to help them keep track of their spending habits. The Expenses microservice provides a range of pre-defined categories, such as food, transportation, and rent. Users can also create custom categories to suit their needs.
Once an expense is created, users can associate it with a previously uploaded receipts by providing the unique receipt ID generated by the Upload service. The Expenses microservice then retrieves the receipts from the Upload service and associates it with the corresponding expense.
Installation & Tests
This guide will help you install expense service built on Laravel, hosted on GKE, and deployed to GKE using terraform. The service has three branches, namely staging, qa, and master each pointing to a different environment. We also use Git conventions for commits and host our repository on Bitbucket.
Backend - Laravel
If you want to install the service locally for development purposes, follow these steps:
Clone the repository from Bitbucket using Git. You can use the following command:
Checkout the branch you want to work on. We have three branches: staging, qa, and master.
The staging branch points to the staging environment, qa points to qa environment and master points to production environment.
Install the dependencies using Composer. Make sure you are in the root directory of the project, where the composer.json is located.
Create a .env file by copying the .env.example file and filling in the necessary environment variables.
Generate the application key.
Set up database: Next, you need to set up a database for your service. Open up the .env file in the root of your app and fill in the details for your database connection. For example:
DB_CONNECTION=mysql
DB_HOST=127.0.0.1
DB_PORT=3306
DB_DATABASE=ipos_expenses
DB_USERNAME=root
DB_PASSWORD=
Note
 You'll need to create a new database in your MySQL server first before you can connect to it.
Once you've filled in the details for your database connection, run the following command in your terminal:
This will create the necessary tables in your database.
Seeding Data
To seed the database with the necessary data, run the following command:
Serve the application using the following command:
You should now be able to access the service at http://localhost:8000.
Running Tests 🧪
Before you run tests, get Bearer token from auth service and set it in your .env file.
To run your tests, run the following command in your terminal:
This will run all the tests in your tests directory. If any of the tests fail, you'll see an error message in your terminal.
Frontend - VueJS
The frontend is built using VueJS, Vite and tailwindcss.
If you want to install the service locally for development purposes, follow these steps:
Clone the repository
Clone the repository from Bitbucket using Git. You can use the following command:
Checkout the branch you want to work on. We have three branches: staging, qa, and master.
The staging branch points to the staging environment, qa points to qa environment and master points to production environment.
Install dependencies
Install the dependencies using npm. Make sure you are in the root directory of the project, where the package.json is located.
Create a .env file by copying the .env.example file and filling in the necessary environment variables.
Serve the application using the following command:
You should now be able to access the service at http://localhost:3000.
Running Tests 🧪
To run your tests, run the following command in your terminal:
This will run all the tests in your tests directory. If any of the tests fail, you'll see an error message in your terminal.
GKE and Terraform 
For deployment, we use Google Kubernetes Engine (GKE) and Terraform.
Note
 The service has three branches, namely staging, qa, and master each pointing to a different environment. Below is a guide on how our deployment works. To deploy the service, you need to have access to the iProcure GCP project and the iProcure Bitbucket repository.
Prerequisites
- Install Terraform on your machine.
- Install Google Cloud SDK on your machine.
- Install Kubectl on your machine.
- Install Helm on your machine.
Setup
- You can clone iProcure Server infrastructure repository from Bitbucket using the following command:
- Checkout the develop branch.
Inside the iprocure-infrastructure directory, you will find several directories. This directories contain all the terraform files for the iProcure Server infrastructure.
Navigate to the modules directory to view the terraform files for the expense service.
Google BigQuery 🤖
The first folder name bigquery contains terraform files for creating bigquery dataset and tables.

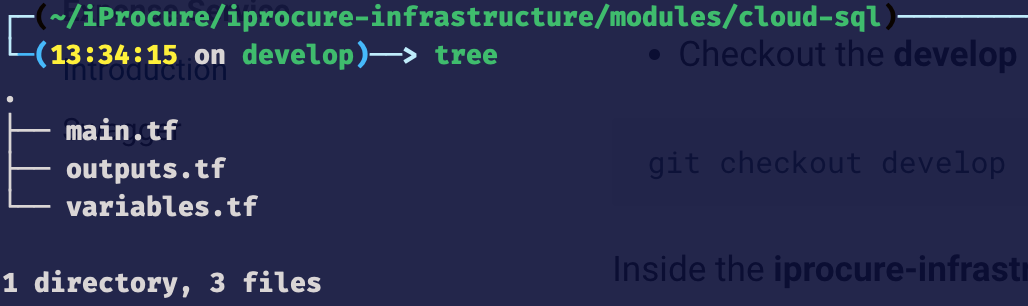
Google Cloud SQL 🗄
cloudsql folder contains terraform files for creating a cloudsql instance and database.
Expense service has a database for each environment. The database name is {environment}_iprocure_micro_expense and created using a for_each loop.
The for_each loop iterates through the list of environments and creates a database for each environment.
Note
For example, if the list of environments is [staging, qa, production], the for_each loop will create three databases, namely staging_iprocure_micro_expense, qa_iprocure_micro_expense, and production_iprocure_micro_expense.
Cloud Function 📡
cloud-function folder contains terraform files for creating cloud functions.

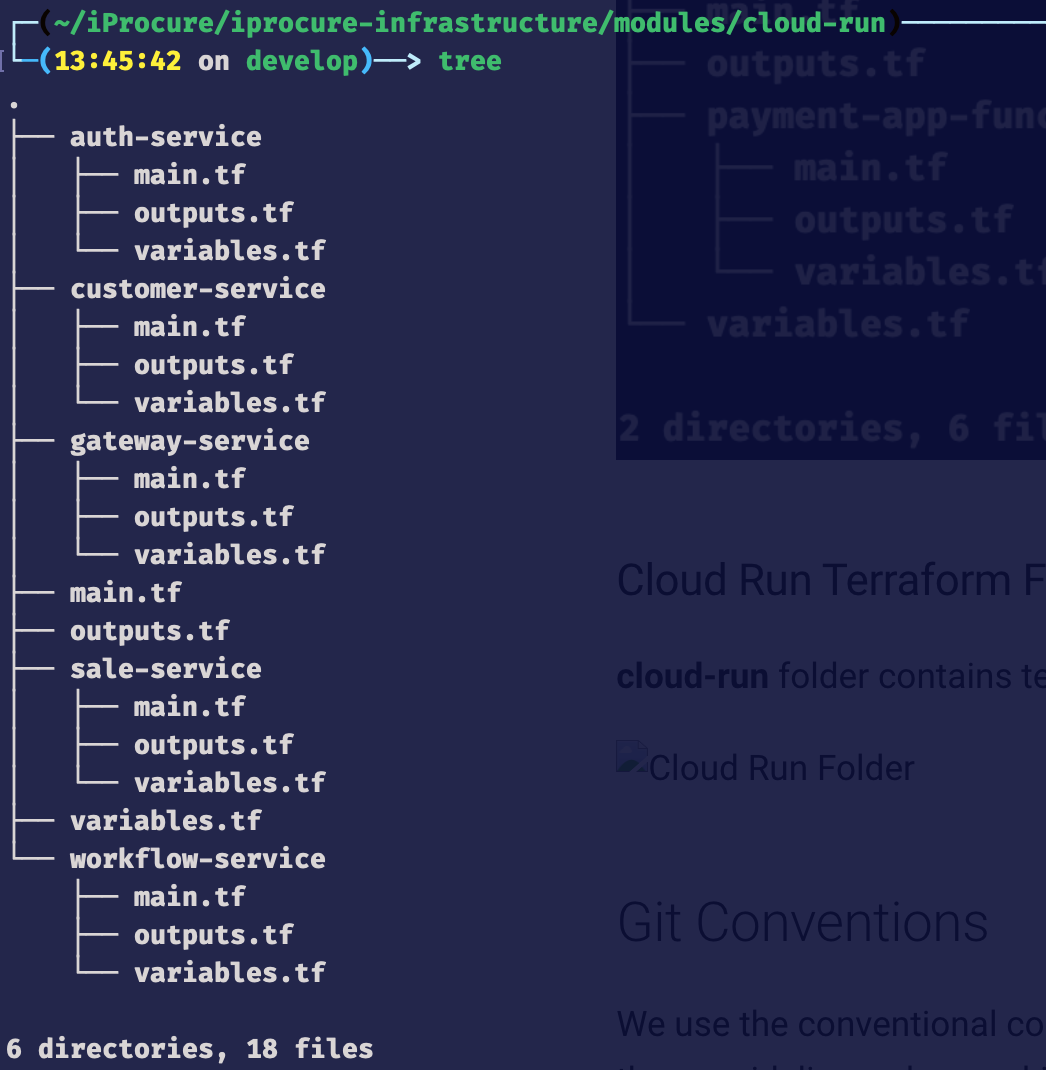
Cloud Run 🔋
cloud-run folder contains terraform files for creating cloud run services.
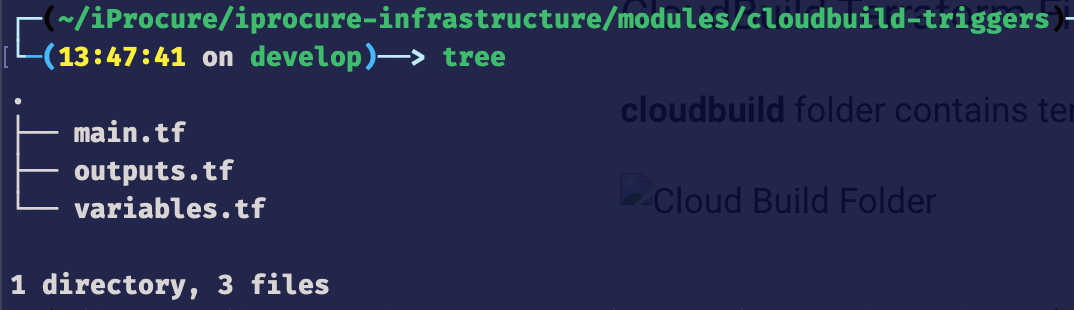
CloudBuild 🚧
cloudbuild folder contains terraform files for creating cloud build triggers.
Expense service has a cloud build trigger for each environment. The cloud build trigger is created using a for_each loop which iterates through the list of environments and creates a cloud build trigger for each environment.
Note
For example, if the list of environments is [staging, qa, production], the for_each loop will create three cloud build triggers, namely staging-push-expense-service, qa-push-expense-service, and production-push-expense-service.
Below is the code for creating a cloud build trigger for each environment.
Cluster Variables 🔐
cluster-variables folder contains terraform files for creating cluster variables. Each service has its own cluster variables.
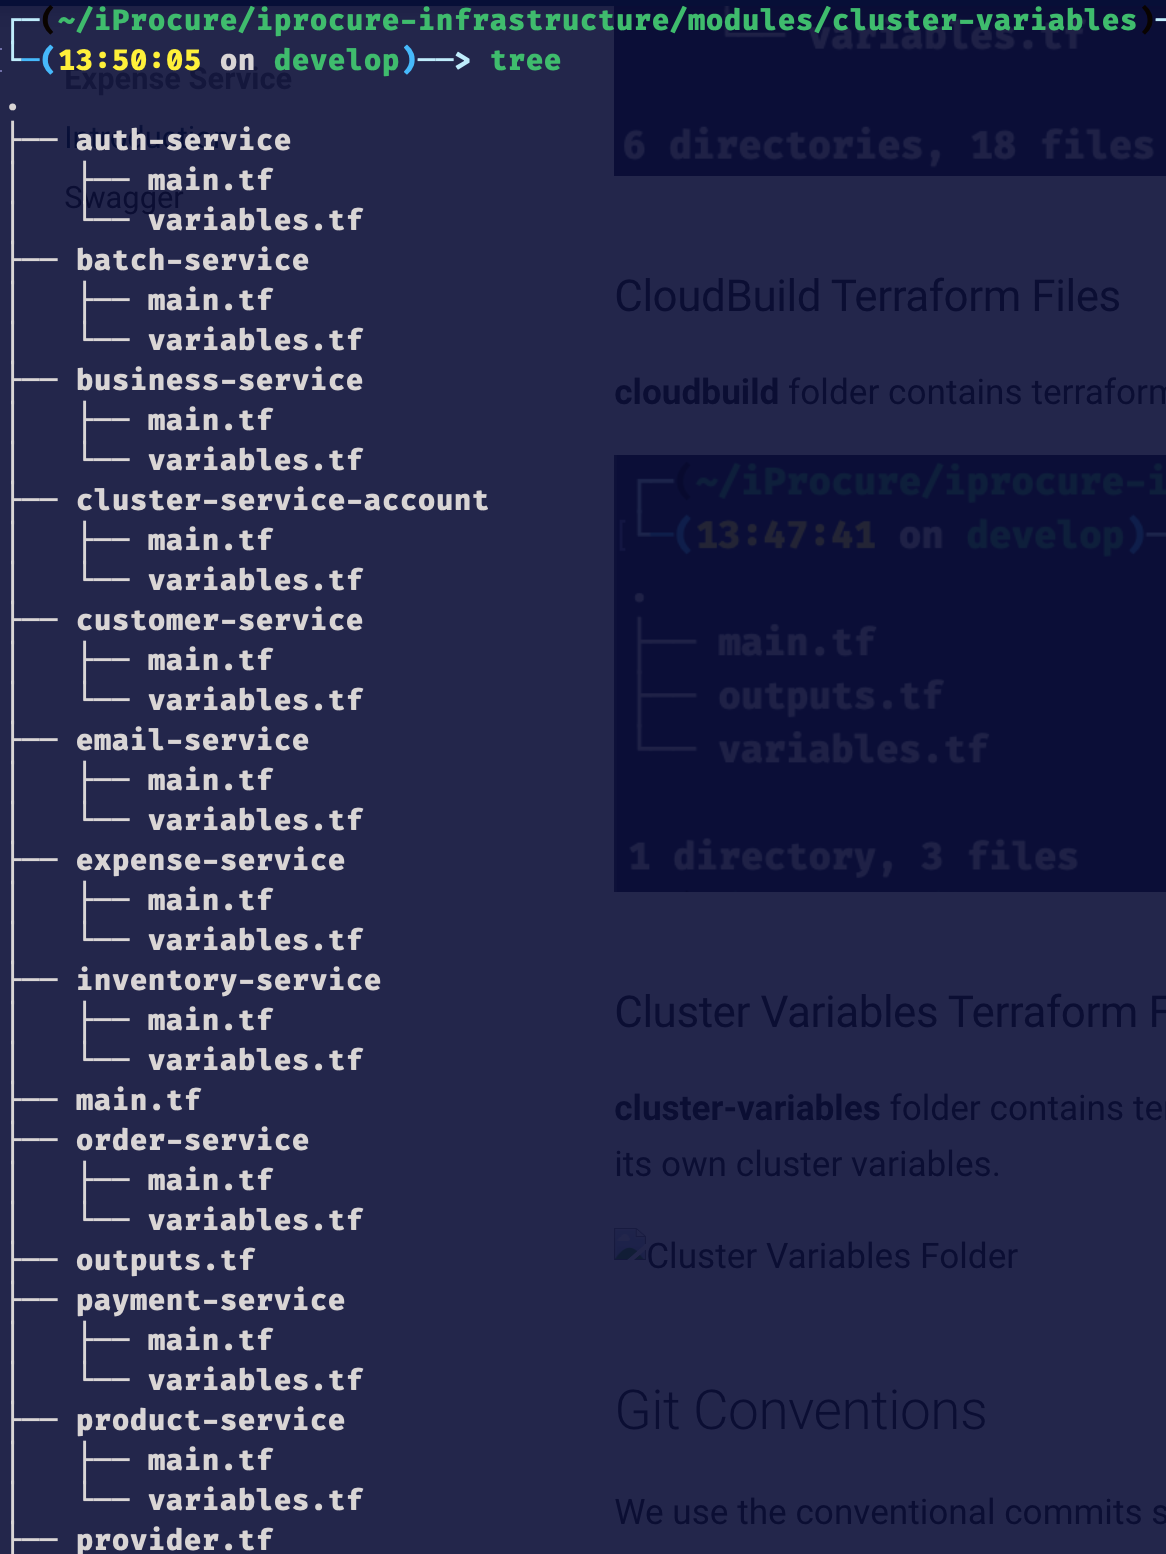
Expense service cluster variable are located in the expense-service folder.
Below is the code for creating cluster variables for each environment using a for_each loop.
File name: main.tf
Note
The code above reads the .env.{service_name}.service file (located in environments/develop/variables/{branch} folder) and creates a cluster variable for each environment.
File name: variables.tf
Event Bus 📢
event-bus folder contains terraform files for creating event bus. Each service has its own event bus. To add a new service you start by creating a new folder with the name of the microservice in the event-bus directory and add files to create topics, subscriptions and event triggers.
For expense service, the folder name is expense-service.
The code below was added to the main.tf file.
The expense service has 3 topics (expense created, expense updated and expense deleted).
The code below was added to the expense-service/topics.tf file.
The expense service has 3 subscriptions for the payment service (expense created, expense updated and expense deleted).
Note
The code below was added to the expense-service/payment-service-subscriptions.tf file.
Git Conventions
We use the conventional commits specification for our Git commits. Please make sure to follow these guidelines when making commits.
- Use present tense, imperative mood (e.g. "add feature" instead of "Added feature").
- Keep commit messages short and descriptive.
- Separate the subject from the body with a blank line.
- Use bullet points to list the changes made in the commit.
Commit Types
- build: Changes that affect the build system or external dependencies (example scopes: gulp, npm)
- ci: Changes to CI configuration files and scripts (example scopes: Travis, Circle)
- chore: Changes which doesn't change source code or tests e.g. changes to the build process, auxiliary tools, libraries
- docs: Documentation only changes
- feat: A new feature
- fix: A bug fix
- perf: A code change that improves performance
- refactor: A code change that neither fixes a bug nor adds a feature
- revert: Revert something
- style: Changes that do not affect the meaning of the code (white-space, formatting, missing semi-colons, etc)
- test: Adding missing tests or correcting existing tests
API Documentation
The Expense Service API is a RESTful API designed to allow frontend developers to interact with the Service. The API provides endpoints for managing categories, and expenses. The API also provides endpoints for handling expense reporting.
QA Base URL
All endpoints have the base URL of https://qa.api.ipos.app/api/v1/expenses
Authentication
All endpoints require authentication via a Bearer Token, which is provided by the Auth Service system.
Note
 All API Endpoints are available on the Swagger Section
Sample API Endpoints
Categories
The categories endpoints fetches a category by ID, or fetches all categories.
GET /categories/{id}
Retrieve the contents of a category.
Request Parameters
id: The ID of the category that should be retrieved.
Response
A JSON object containing the contents of the category.
Example Request
Example Response
{
  "data": {
    "id": "12345",
    "name": "Food",
    "companyId": "12345",
    "createdAt": "2020-01-01T00:00:00.000Z",
    "updatedAt": "2020-01-01T00:00:00.000Z"
  }
}
POST /categories
Create a new category.
Request Body
A JSON object containing the category ID and name.
Response
A JSON object confirming the category was created.
Example Request
POST https://qa.api.ipos.app/api/v1/expenses/categories
Authorization: Bearer {TOKEN}
Content-Type: application/json
{
"name": "Food",
"status": "active",
"localId":"uuid",
}
Example Response
{
  "message": "Category created successfully",
  "id": 19,
  "data": {
    "id": "19",
    "name": "Food",
    "companyId": "12345",
    "createdAt": "2020-01-01T00:00:00.000Z",
    "updatedAt": "2020-01-01T00:00:00.000Z"
  }
  "success": true
}
DELETE /categories/{id}
Remove an existing category.
Request Parameters
id: The ID of the category that should be deleted.
Response
A JSON object confirming the category removed.
Example Request
Example Response
Database Structure

Future Enhancements and Propositions
- Add ability to add a category if it doesn't exist.
- Add ability for managers to approve expenses.
- Add ability to export expenses to CSV, PDF, or Excel.
- Add expense reporting functionality.